About
I found that learning robotics in middle and high school was challenging for students if a robust robotics program was not offered at their school. Some of the limiting factors include: high cost, complexity of electronics, and not knowing where to start.
My solution centers on three ideas: off-the-shelf electronics, 3D printed parts, and universal connectivity. This creates an accessible robot system where it is easy to learn robotics.
3D printing allows students to use CAD to design parts instead of making a robot using parts premade and predetermined by a manufacturer. This encourages students to learn engineering principles, develop their mechanical thinking, and improve their coding skills. 3D printing makes it easy to modify and design parts to accommodate different electronics.
The robot I have built is phase one with everything needed to play a simple game. The long-term vision is building a living, open-source platform. One where the maker and education community contribute new parts, configurations, and ideas, and the robot keeps evolving beyond what I could build alone.
Problem
In high school I competed on a FIRST Robotics team and now volenteer as a student mentor for team 4201, the Vitruvian Bots. Through these experiences, I found that learning robotics for middle and high school students was challenging where a robust robotics program was not offered in school. Part of the reason why robotics is difficult to get into is the have a high cost, complex electronics, and knowing where to start can be hard.
I'm not the only one who felt this way. When I looked at what students and educators were saying online, the same frustrations I had kept coming up. The community consistently pointed toward Arduino-based systems as the solution, they are inexpensive, beginner-friendly, and well-documented, especially from online stores like Adafruit.
The community already knows what it needs. It just doesn't have the platform yet.
Solution
My solution is an open-standard mounting system built around three principles: off-the-shelf electronics, 3D printed parts, and universal connectivity.
Rather than designing a closed kit with proprietary components, I set out to create a foundation that anyone can build on. All electronics and hardware (control boards, motors, lights, screws, and bolts) can be sourced from accessible retailers like Amazon and Adafruit. The mounting points for the control board can be easily swapped to suit individual needs.
3D printing is at the core of the system. It cuts the cost of structural parts significantly, and more importantly, it makes everything customizable. If a student wants to change a sensor, add a new function, or repurpose the robot entirely, they can, without remaking an entire robot from scratch. The mounting system allows for this flexibility, so students are never locked into one configuration.
The result is a robot that grows with the student, not against them.
Why Robotics Matter for Students
Before we dive into robot I made, I want to give a little background on why learning robotics is important for middle and high school age youth, I want to look at what it offers.
Robotics teaches coding, mechanical thinking, teamwork, and problem-solving skills. However, it also teaches life skills like being comfortable with failing and learning from it. It teaches critical thinking and resilience. Which benefit all students, whether they pursues robotics and engineering or not.
Insights
Robot kits for school classrooms can cost upwards of $4,000. Single robot kits cost $800. Schools and community organizations with little funds cannot provide students with tools to learn and build technical instincts.
Part sourcing is another hurdle for those just entering the small robotics community. Many electronics (control boards, add-on boards, motors, lights, etc.) only work with specific components, which adds complexity to newcomers and the experienced alike. Many parts mentioned for small robots are lead to Aliexpress or broken and old links, rendering acquiring parts difficult.
Furthermore, many at home robotics kits, even 3D printed ones, are “one-off” where you build it once and cannot change the purpose of the robot to do other things. This increases waste and limits the creativity that robotics can bring. For example, if a sensor or motor needs to be changed, often times the entire robot needs to be rebuilt from the ground up, especially in small robotics.
Target Audience
Targeting middle and high school students, this system is designed to scale as students learn. As students start out, they can download and print robot parts, but as they gain more experience and knowlage, they can start to design parts using CAD for the system. The robot system is well suited for this range, as robot kits are expensive, confusing, and can difficult to get started with. 3D printing allows students to give their robot new functions and modify parts within a day and at low cost.
Research
Competitive analysis
The current market for educational robot kits is dominated by expensive, proprietary systems like VEX ($820–$4,370) and discontinued products like LEGO Mindstorms. CyberBrick by Bambu Lab is the closest competitor to my vision. It is inexpensive, community-driven, and Arduino-compatible. However, it's tied to Bambu Lab's ecosystem and there is not standardized 3D printable system for the community to build off of. This leaves a gap in affordable, open source robotics platform built specifically for students learning to 3D model and program.
Netnography
Real users (students, educators, and hobbyists) confirm the problem firsthand. Robot kits are too expensive, rely on proprietary parts, and don't teach mechanical fundamentals. The community consistently recommends Arduino-based systems for their low cost, beginner-friendly programming, and strong online documentation. However, there is a need for open source and easy to assess kits that use Arduino-based systems.
Secondary Research
Academic and industry sources support shifting from memorization-based learning to hands-on, practical education through robotics. 3D printing is highlighted as a key enabler, allowing fast iteration, custom part integration, and low-cost production. Arduino electronics are widely available and well-documented, making them ideal for educational settings. Learning materials should be reusable and adaptable, not one-and-done.
User testing
The open-source approach resonated immediately. Users responded positively to the idea of publishing schematics and files online. The community-driven model was eagerly received compared to closed, proprietary kits.
Assembly guidance needs to feel approachable, not overwhelming. Multiple users flagged the checklist as helpful, but also potentially off-putting. Several wondered about a side-by-side build experience. The LEGO-style instruction manual idea came up organically, which validates a direction I was already considering.
There's a strong desire for a beginner-to-expert pipeline. Several people asked about experience levels and whether the robot could scale in complexity. This points to an opportunity: a base model that grows with the student rather than being replaced by a harder one.
Personalization is a natural extension of the system. Color coding components and adding personalization features came up unprompted. Students don't just want to build, they want to make it theirs.
The concept connected emotionally with the target audience. One student said directly: "As a STEM girlie, I wish I had this in school." That's the clearest signal that the problem is real and the solution is pointed in the right direction.
Robot Design
EveryBot centers on three ideas: off-the-shelf electronics, 3D printed parts, and universal connectivity.
Instead of a closed kit with proprietary components, I wanted to build a foundation that anyone could build on. Every piece of hardware (the control boards, motors, lights, screws) can be ordered from places like Amazon or Adafruit. Nothing proprietary or hard to find.
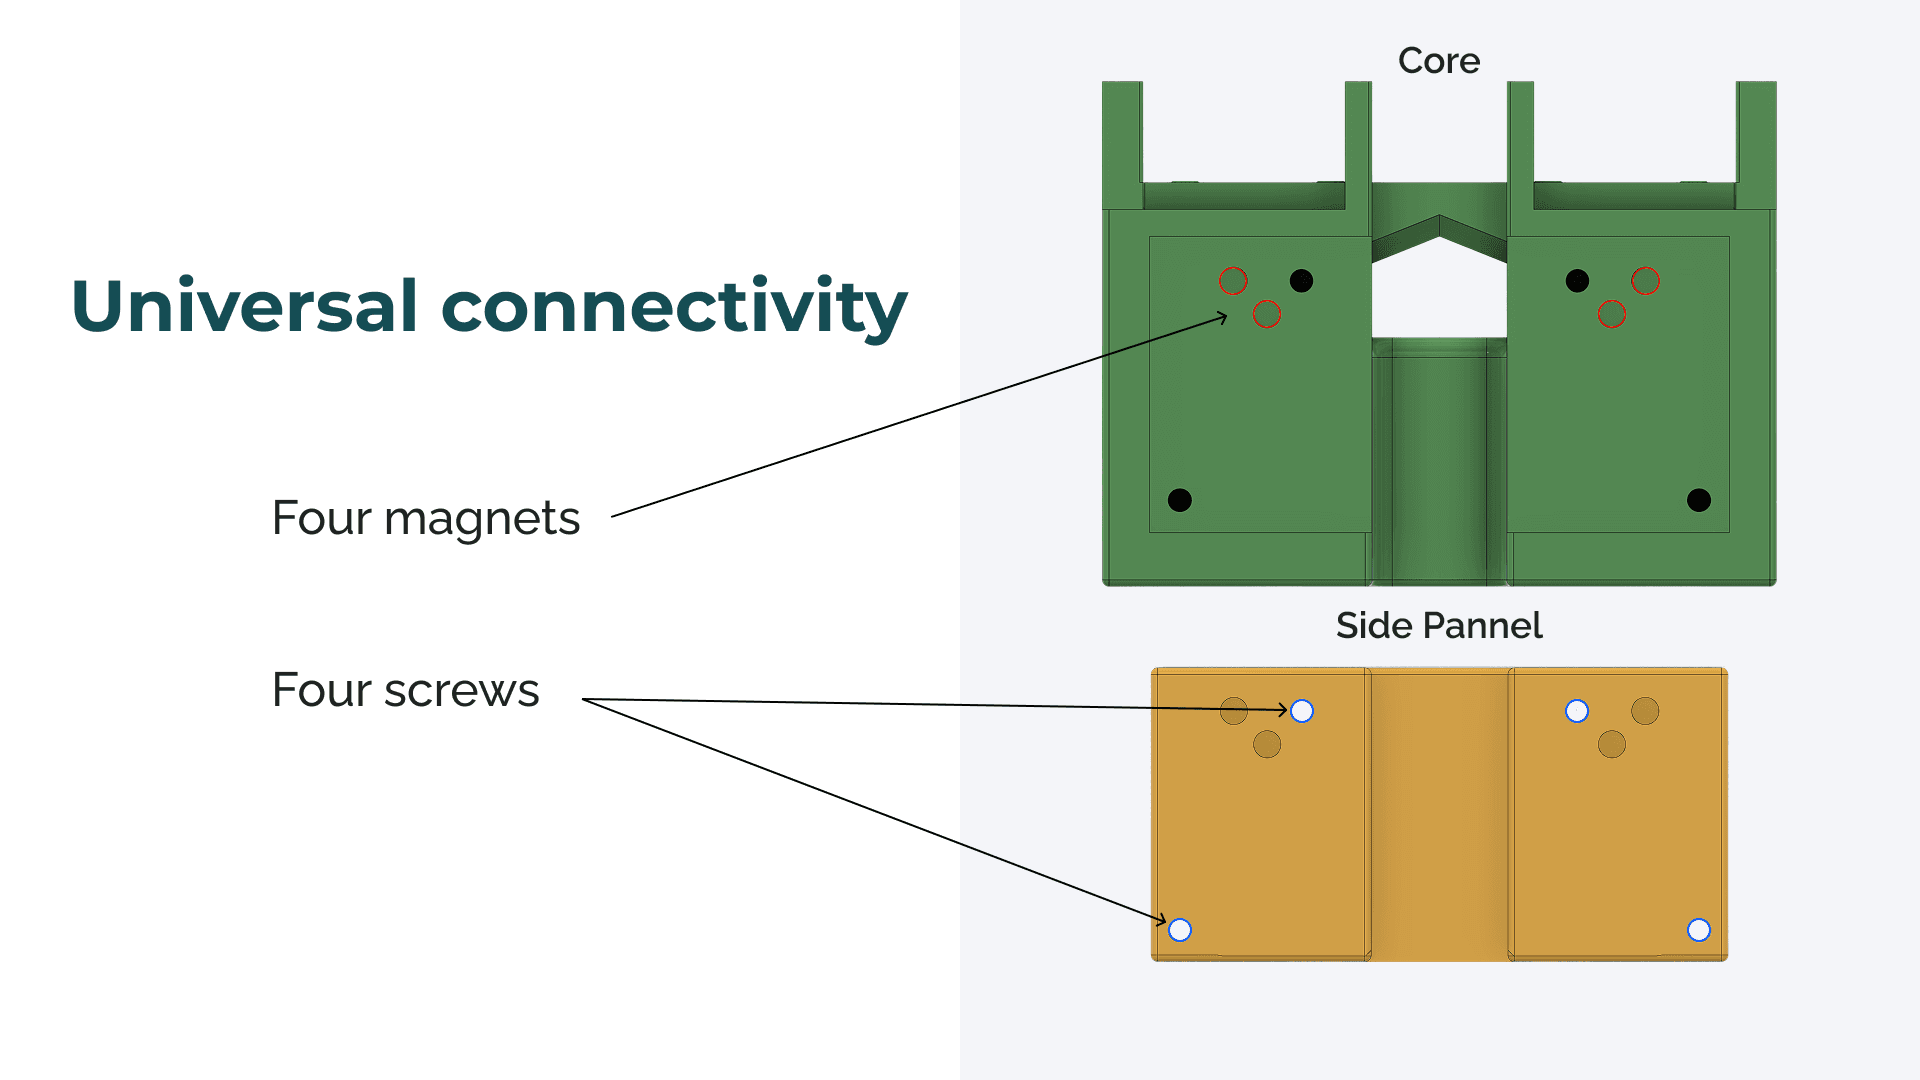
3D printing is at the heart of this. It allows students to use CAD to design components for their robot, making it easy to test new ideas quickly without spending a lot of money. Swapping out a sensor or repurposing the robot can be done within a day. The mounting system is what makes that possible. It diminishes the need to figure out how something will connect, leaving the student to only figure out how the new part will work.
The robot I have built is phase one. It’s only the components needed to play a simple game. The long-term vision is building a growing, open-source platform. One where the community contributes new parts, configurations, and ideas, and the robot keeps evolving beyond what I could build alone.
Designing for 3D Printing
Phase one of the robot is prototype version 5. With each version, I modified it to increase the print reliability, tolerance reliability, and being able to print with the least amount of printed support as possible. I used Autodesk Fusion for modeling the components and making the test prints. Bambu Studio and Orca Slicer to translate the CAD files into gcode for the printers to read.

To save on time and plastic, I printed small test parts to help determine the correct dimensions for the drop in square nuts, magnets, and self tapping screw pilot hole. All magnets on the robot are press fit; no glue was used to keep the magnets in place. During test printing, I was getting slightly different dimensions for holes on my printers, so I printed everything on my Bambu Lab H2D as it printed the most dimensionally accurate and consistent.

To increase the reliability of successfully threading the plastic in the Core to attached the Drive Base, I opted make a hole that has small cylinders in it. Per a video by Slant3D, this allows the plastic that the screw is cutting into to not be trapped in the hole and expand the plastic, potentially ruining the 3D print and increasing the likely hood of not being able to thread the screw.

Threading into the plastic can only be done a couple of times before the threads strip. Therefore, I used square fastening nuts for points that will see a lot of part swapping. This also helps in keeping the parts easy to print at schools and libraries, where little supervision is required to print.

Programming
As I am relatively new to programming, I worked with Claude to write the code for the Circuit Playground Bluefruit and the program that allows the robot to be controlled with a game controller via a computer.
Part Sourcing
Initially researched the Adafruit CRICKIT FeatherWing for any Feather, but saw that it was out of stock on Adafruit and discontinued on DigiKey, so I switched to using the Circuit Playground Bluefruit to ensure the system used current, readily available components with integrated Bluetooth for the mobile UI. Future iterations of this robot system will include various mounting patters for different microcontroller boards.
Final Product: Phase One Robot
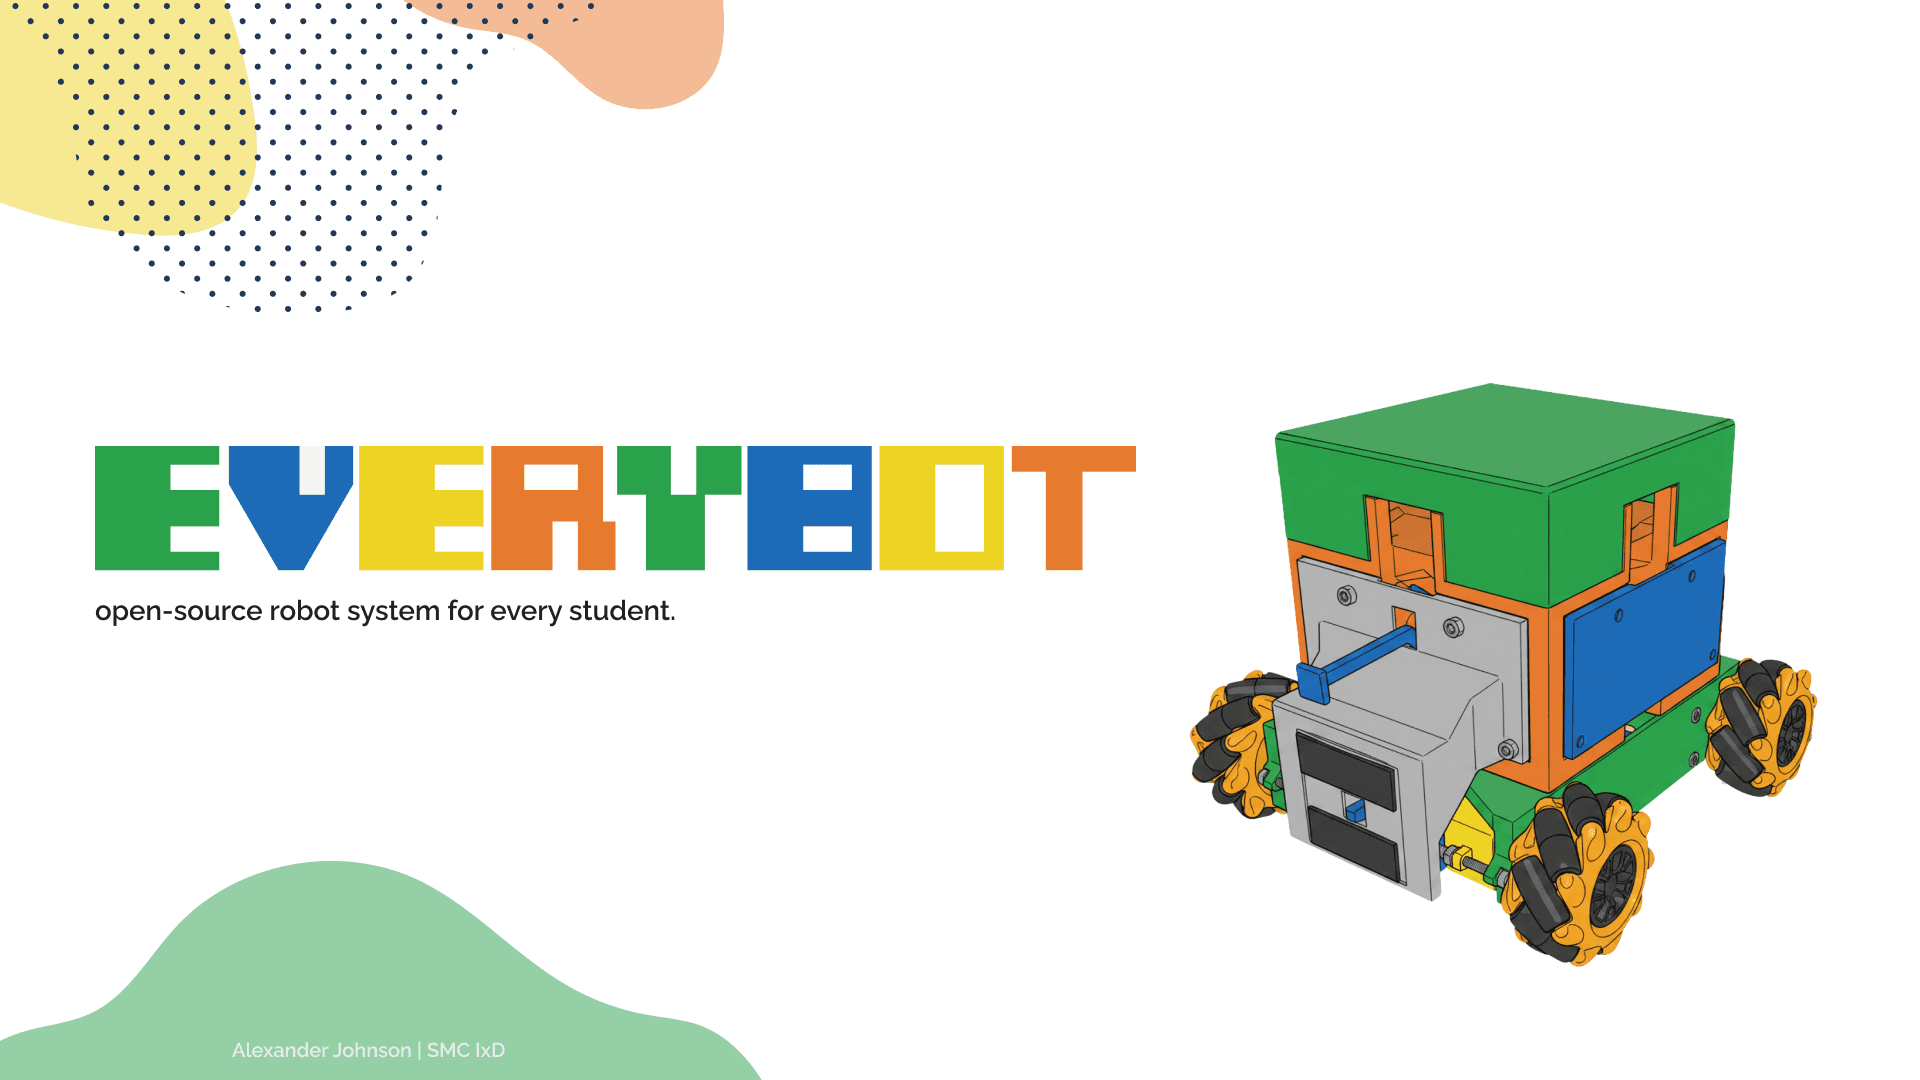
The robot I have built is phase one. It’s only the components needed to play a simple game. The long-term vision is building a growing, open-source platform. One where the community contributes new parts, configurations, and ideas, and the robot keeps evolving beyond what I could build alone.
The robot shown in the video is phase one and the components for it cost $114. With many schools and public libraries starting to have 3D printers, acquiring the printed components has never been easier.
Webpage
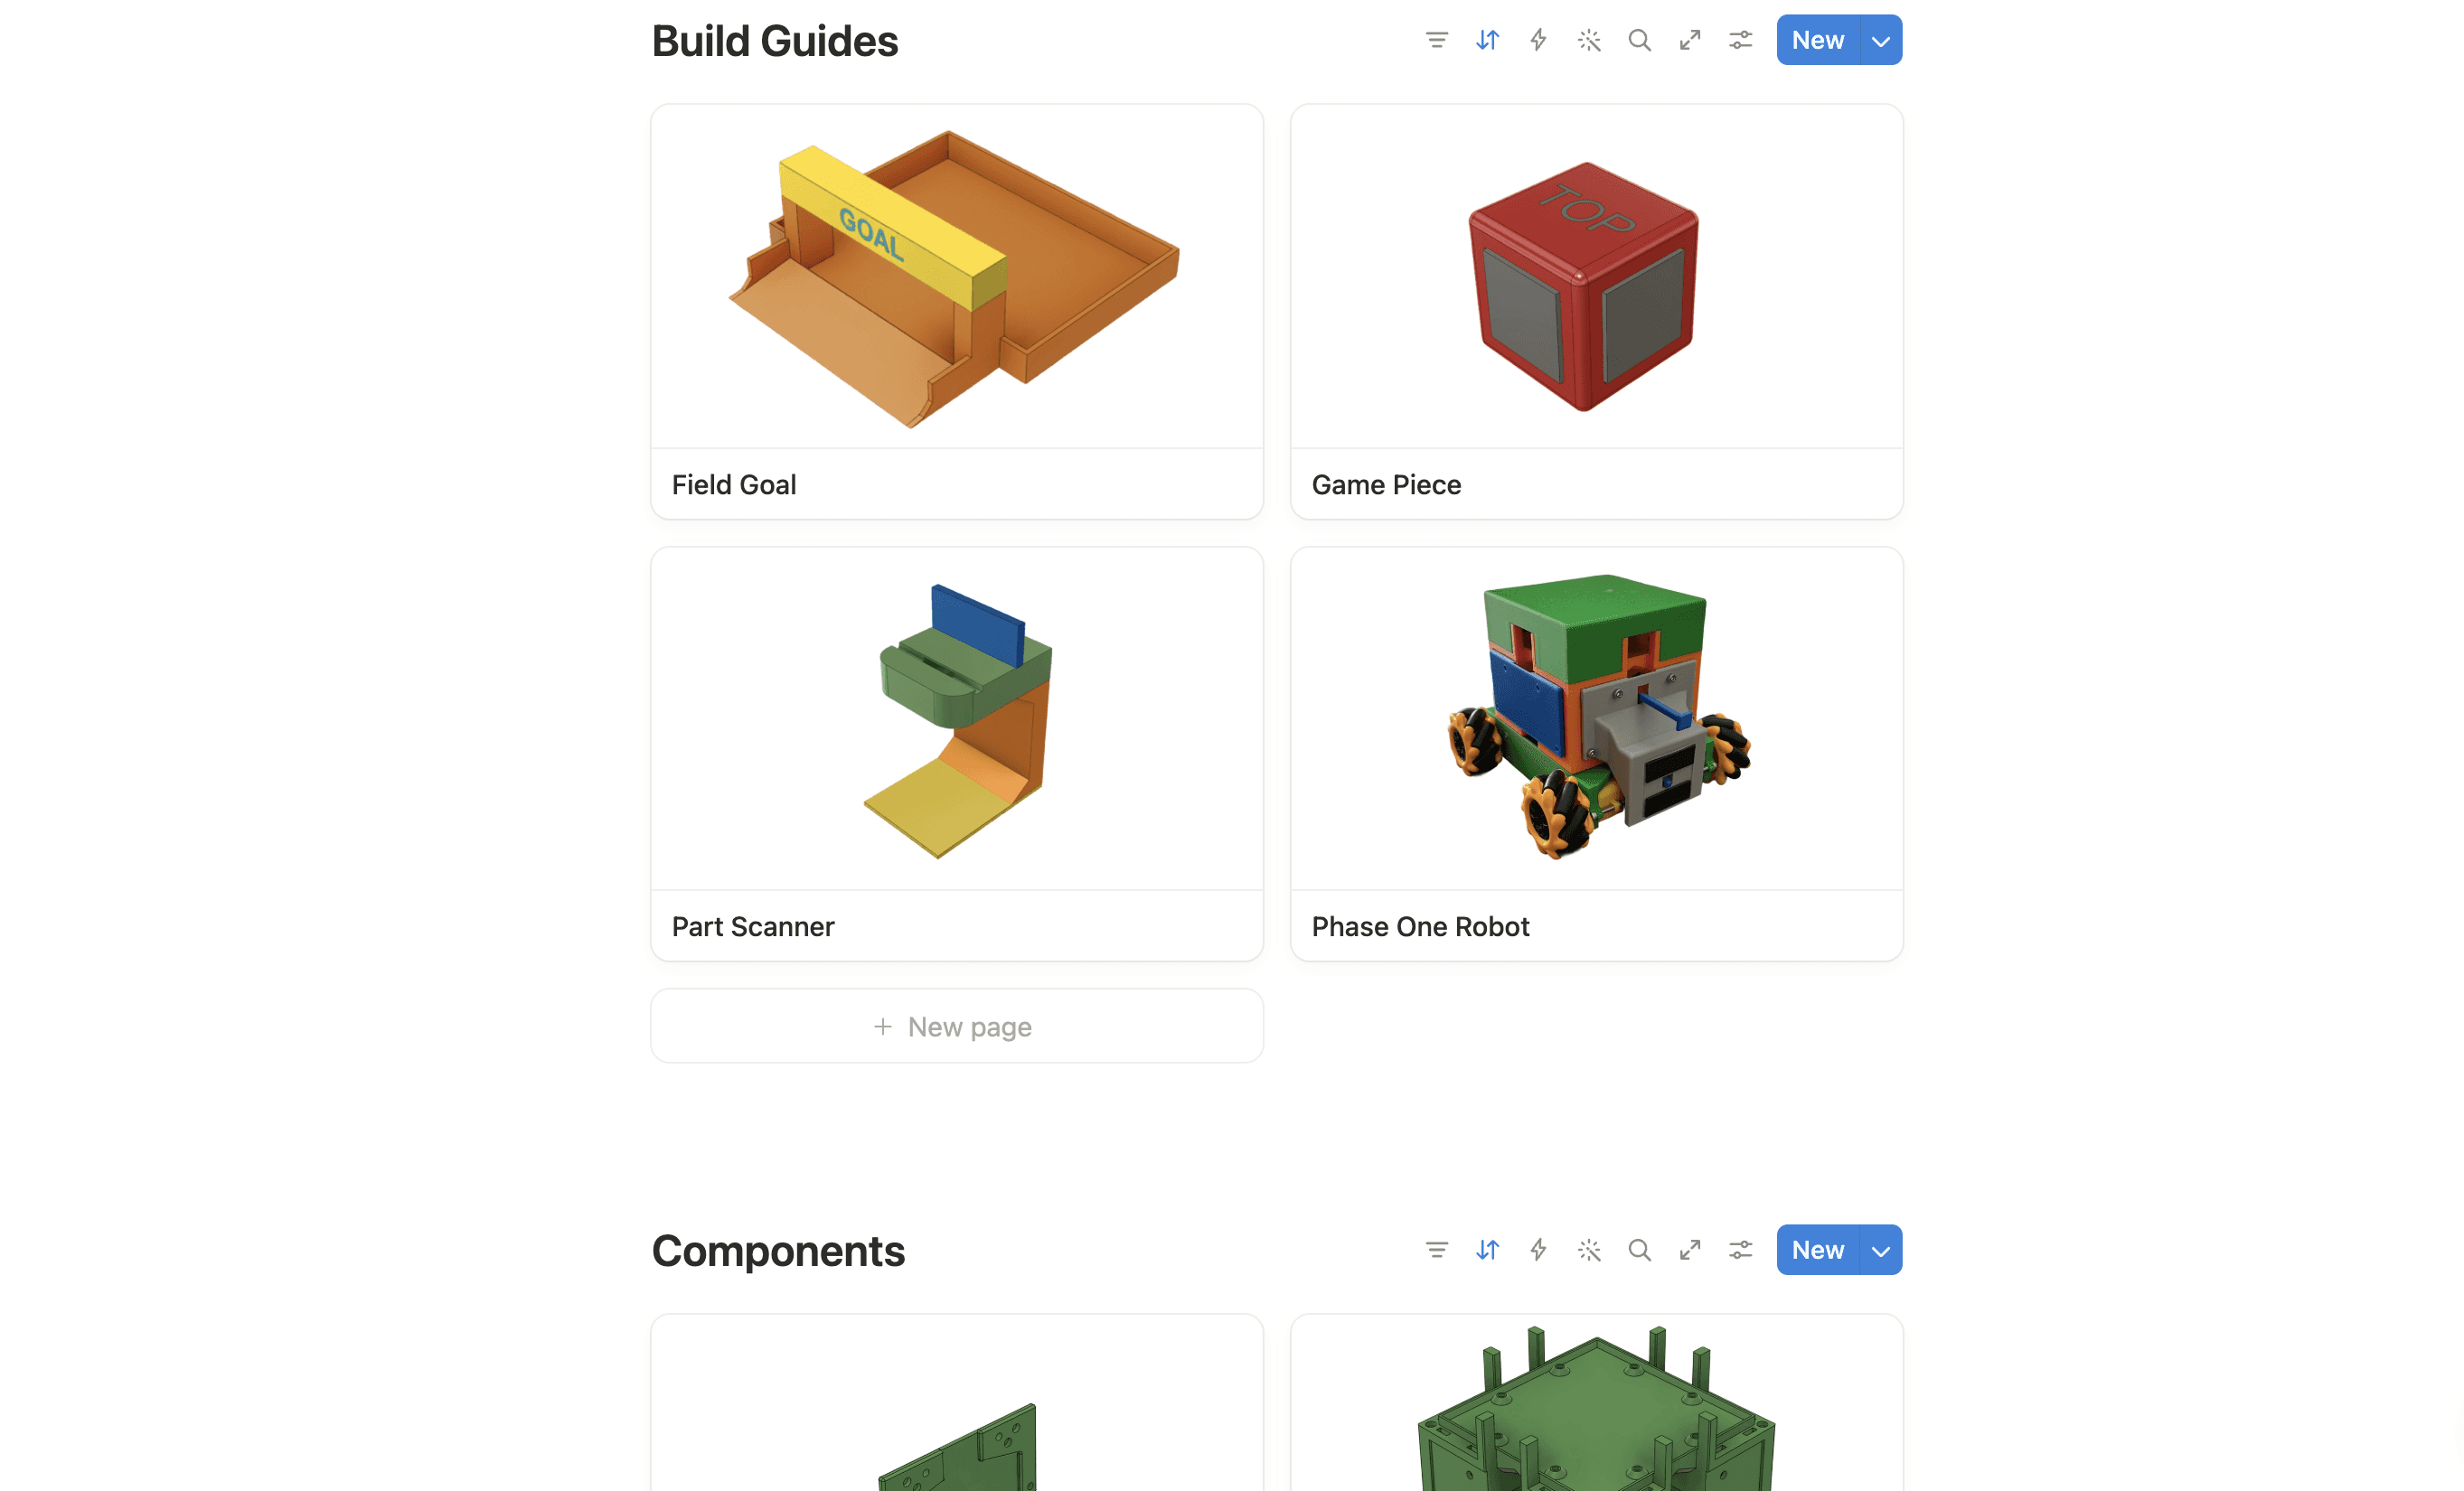
The first step I've taken in making this robot system available to every student, is building a website. Here, 3D print and CAD files can be downloaded, build guides can be followed, and links to where to buy electronics can be found. I would like to take this website further by allowing the community to upload their own parts for the ecosystem to grow the parts library.
On the webpage are build guides for phase one of the robot. It includes step by step visual instructions with supplemental videos to aid the build process for those new to building robots. From user testing, it was apparent that videos were needed to act as a sort of “mentor” to guide new robot builders.
Booth
To show off how the robot can be used, I built a small mini game for visitors to play. Using a game console controller, visitors can move the robot around a playing field to pick up point cubes and deposit them inside the goal to score points.


Part Scanner
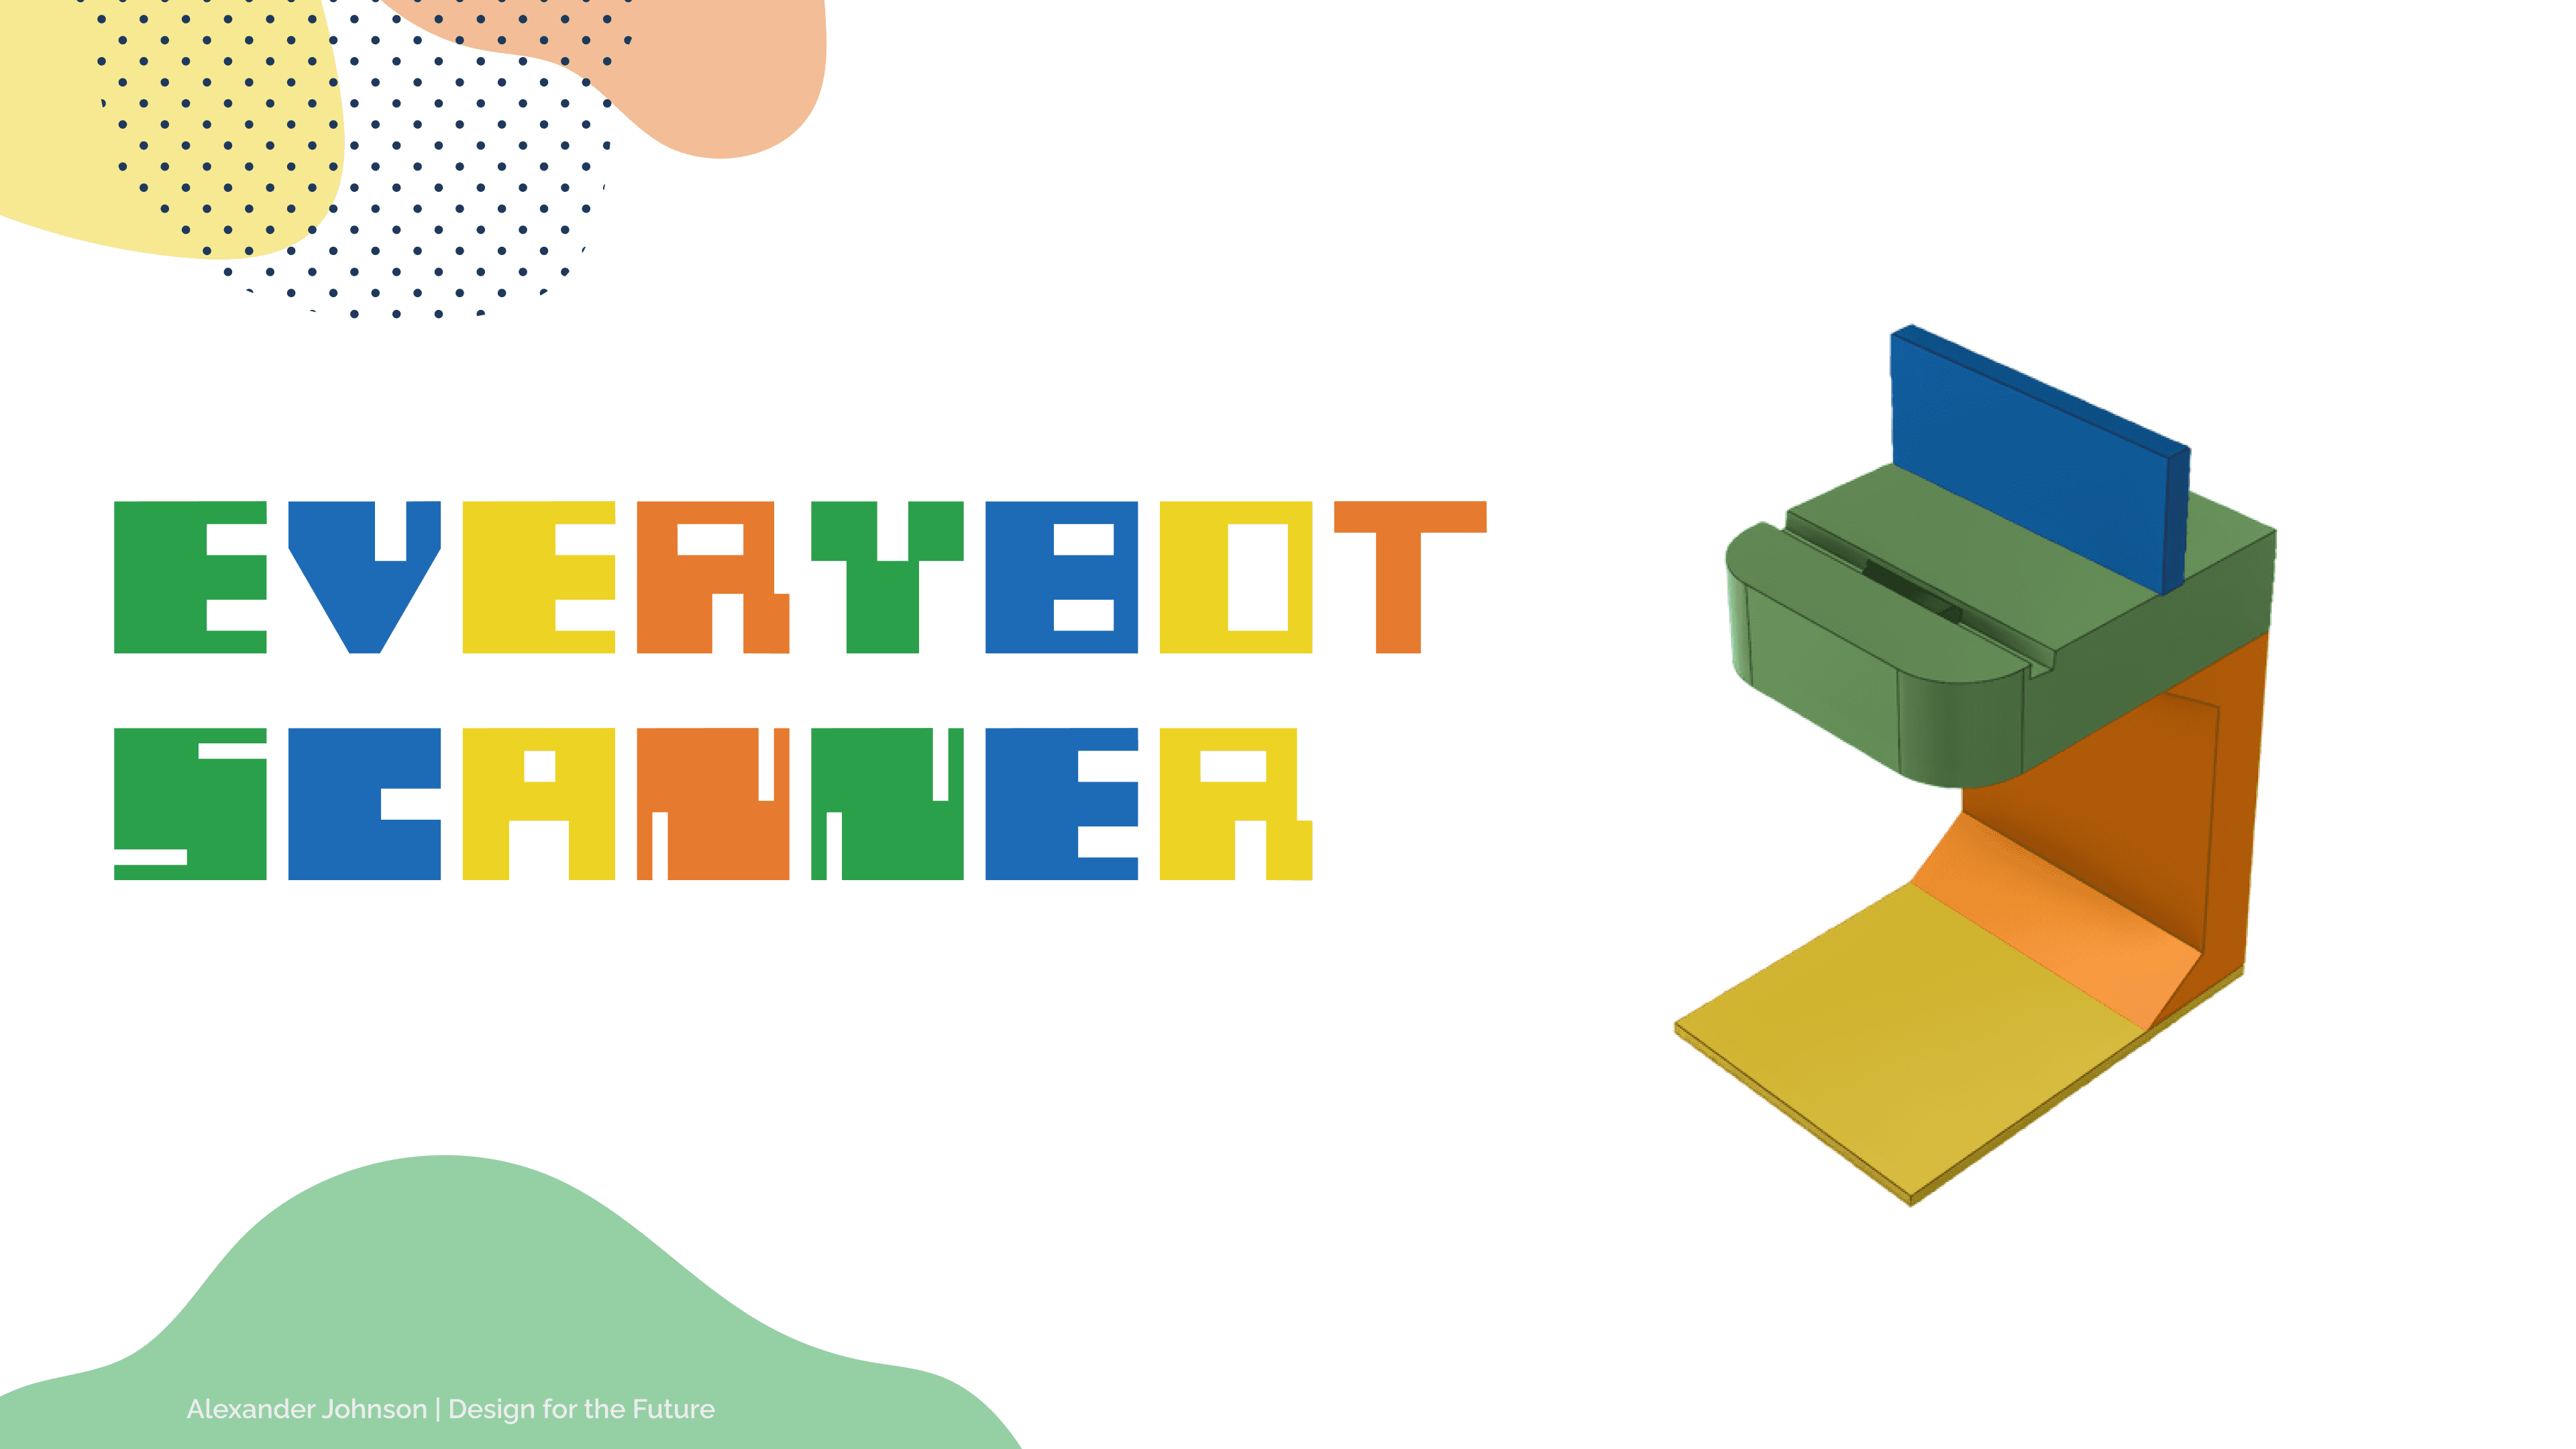
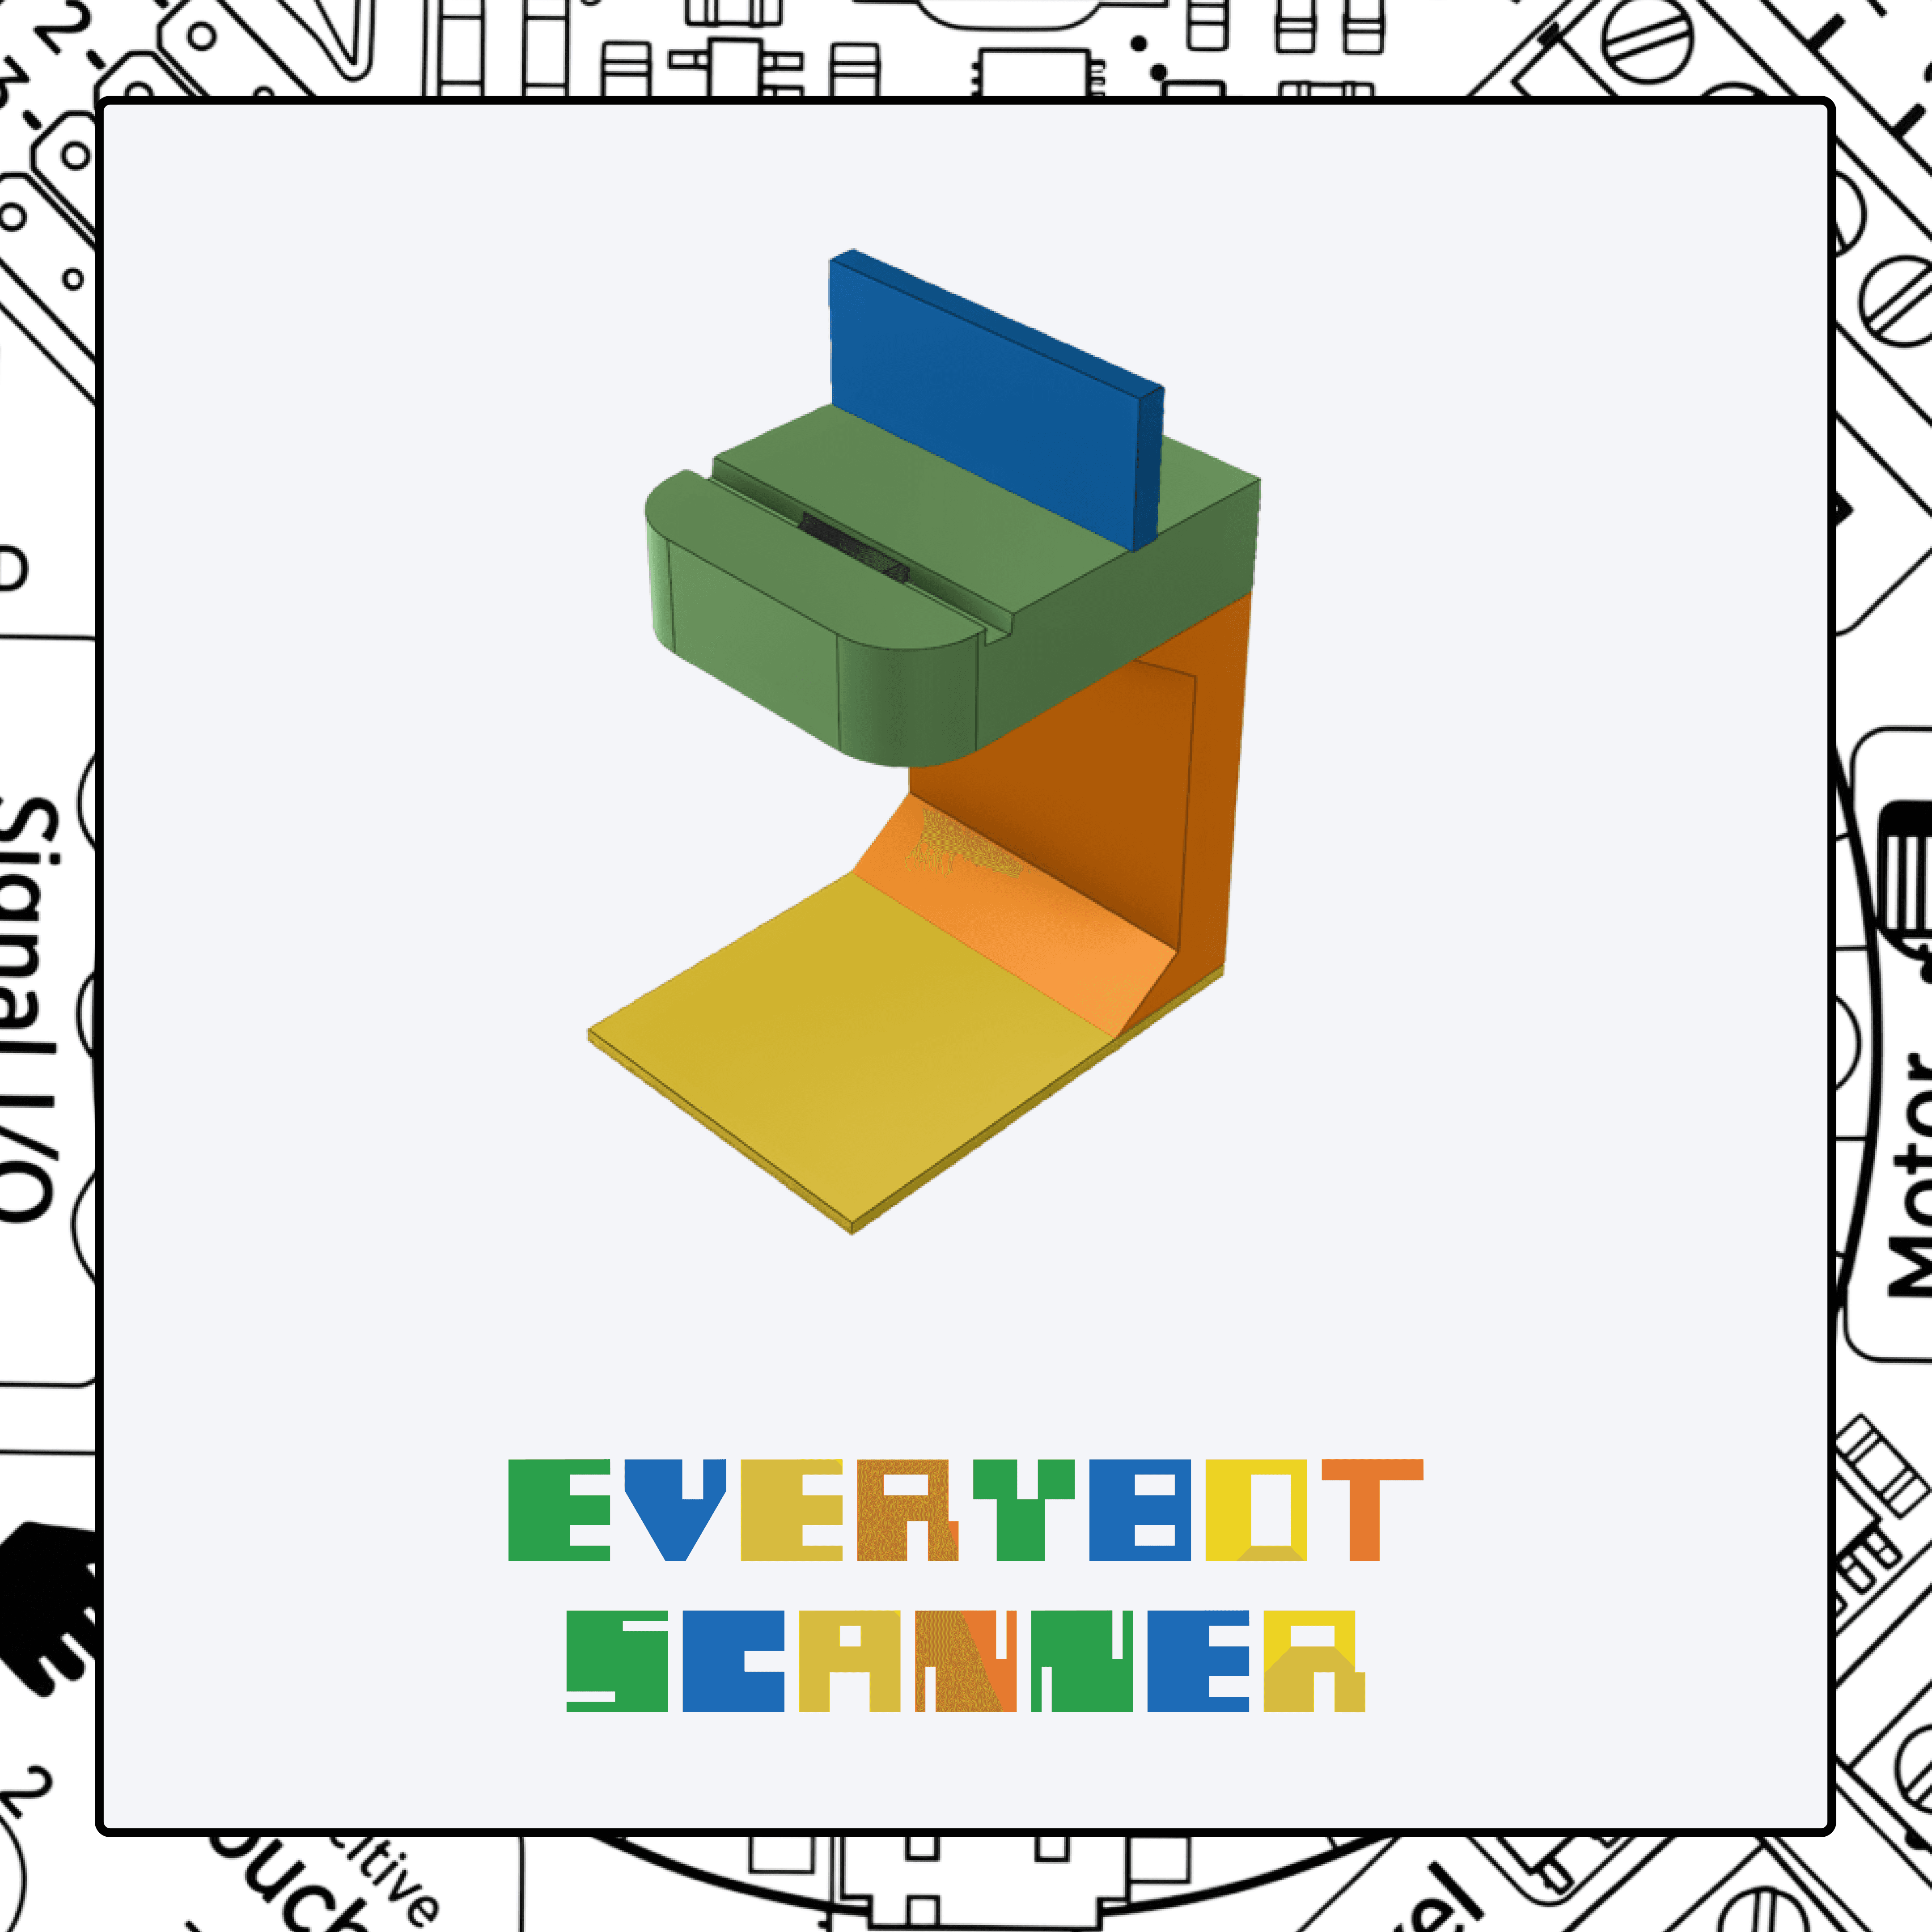
The EveryBot Scanner is a physical part identification tool built as an extension of EveryBot, an accessible robotics learning platform designed for middle and high school students. The scanner addresses a core barrier in robotics education. Not just cost and complexity, but the simple challenge of not knowing what a part is or what it does. Using a webcam connected to a computer and machine learning, students can show the scanner any part from the EveryBot system and instantly receive its name, a short description, and a link to further information.
Concept Description
The EveryBot Scanner is a physical part identification tool built as an extension of EveryBot, an accessible robotics learning platform designed for middle and high school students. The scanner addresses a core barrier in robotics education. Not just cost and complexity, but the simple challenge of not knowing what a part is or what it does. Using a webcam connected to a computer and machine learning, students can show the scanner any part from the EveryBot system and instantly receive its name, a short description, and a link to further information.
Process and AI Integration
The scanner was built by training a custom image classification model in Google's Teachable Machine, with approximately 1,200 samples per component class to ensure reliable identification. The model was then integrated into a p5.js interface that handles the live camera feed and displays results in real time, displaying the part name, a brief description, and a reference link. This pairing of a no-code ML training tool with a creative coding environment kept the build accessible and rapid to iterate on, which directly mirrors the philosophy of the larger EveryBot project.
Outcomes, Prototypes, and Interactivity
The final prototype is a working, interactive scanner that identifies EveryBot components on demand. The system is fully functional. Beyond the classroom, the scanner has clear real-world utility in open-access spaces like makerspaces and school workshops, where electronics bins are shared and parts often arrive second-hand without labels or readable part numbers, especially motors. The EveryBot Scanner turns an unlabeled component into a learning moment.
Next Steps
With more time to work on this project, I would like to have created a couple more mechanisms that would change the function of the robot, showcasing more variety.
From user testing, I found a need for tiered difficulty levels of robot builds. As student learn, they can keep using the same robot platform, but find more complex mechanisms and build challenges.
Since this robot is for education first, an education guide will be made to aid schools, homeschoolers, and community groups so they can use this robot system in their curriculum. As well as making guides for how to lead workshops with this robot that include descriptions and explanations of how engineering principles were used on the robot.
Lastly, I'd want to create video assembly guides to go alongside the written instructions, making the build process as approachable as possible for students with no prior experience. The videos would serve as a sort of “mentor” to guide students through the process.
The long-term vision is a living, open-source platform. One where the community contributes new parts, configurations, and ideas, and the robot keeps evolving beyond what I could build alone.
Reflection
This project sits right at the intersection of everything I want to do: physical product design, education, and systems thinking. My goal is to work for companies like Mattel or Hasbro, building toys and learning tools for the next generation. Essentially, I want to make the things I wished I had growing up. This project is a step in that direction.